Avoid catastrophic structural damage and costly repairs from hidden water damage. Knowing what a water damage inspection is and when you should get one can save you from dealing with extensive structural damages in your home or buying a severely water-damaged one.
alpharettawaterdamageremoval.com gathered the following information about water damage inspections and when you should have one conducted.
What is a Water Damage Inspection
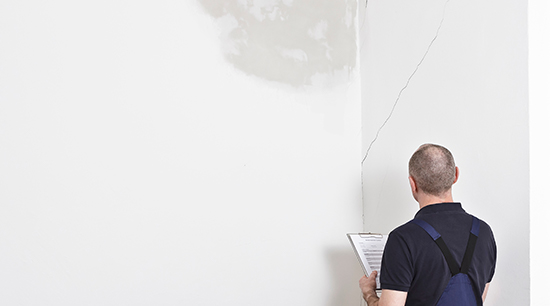
A water damage inspection (water damage assessment) is typically conducted by a professional water damage contractor to identify and document the water or flood source, the water contamination category, and the water damage extent. A typical water damage inspection looks for the following:
- Occurring or visible water problems (wet drywall, water leaks, water stains, mold growth, etc.)
- Potential water issues (standing water, corroded water connections, etc.)
- Septic tank leaks
- Driveway, fencing, and sidewalk conditions
- Cracked or rotted siding
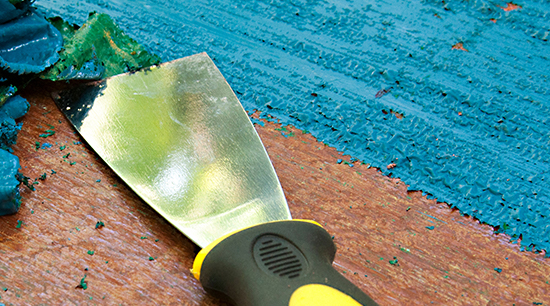
- Windows, doors, and trim condition
Water damage inspectors typically work their way through an entire home or business. Here’s where they will look:
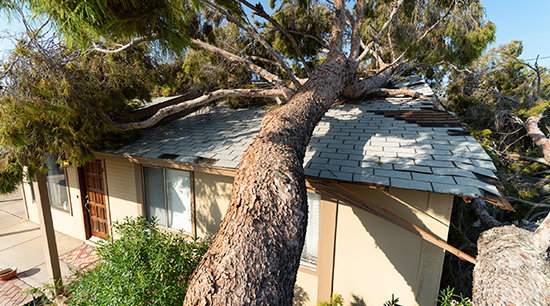
- Roof
- Gutters
- Eaves
- Attic
- Garage
- Kitchen
- Bathrooms
- Laundry room and washing machine
- Under sinks and plumbing
- Appliance water connections
- Furnace and duct work
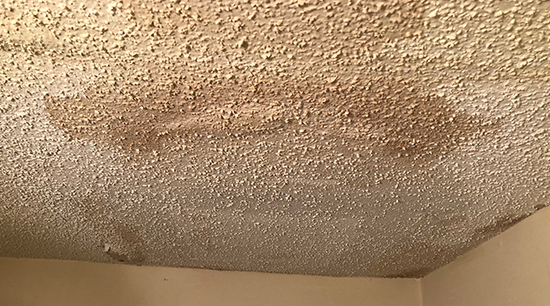
- Ceiling
- Water heater or boiler
- Furniture
- Windows
- Doors
- Shed (Storage space)
- Crawlspaces
- Basement
A water damage inspection also determines the water type (category) that caused the damage:
Category 1 – “Clean Water” is from a source that poses no substantial harm to people.
Category 2 – “Grey Water” poses health risks due to significant bacteria, mold, and/or chemical contamination.
Category 3 – “Black Water” contains disease-causing organisms and toxins and is grossly unsanitary.
Note: When category 2 or 3 water is identified, restoration specialists will typically use personal protective equipment when performing extraction or restoration activities.
When property damage is detected, it is classified by type. Types of water damage include:
Pre-Existing Damage – This category includes damages present before the water damage occurred.
Primary Damage – These damages directly result from water leaks or flooding.
Secondary Damage – The aftereffects of a water flooding event often leave behind secondary damages (sagging drywall, warped flooring, structural damage, unhealthy mold growth, etc.).
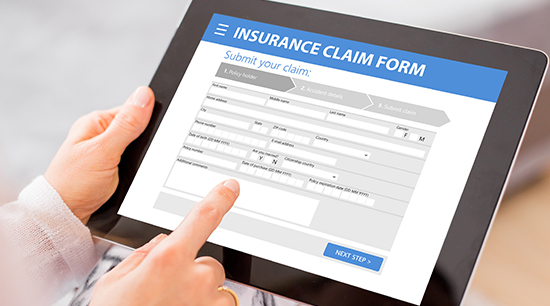
Filing a water damage claim can be challenging, but proper documentation typically accelerates the process. A crucial part of that documentation is a water damage inspection performed by a professional restoration contractor.
When Do I Need a Water Damage Inspection
A water damage inspection is the first step in the water damage restoration process. It would help if you had a water damage inspection conducted when:
Filing an Insurance Claim – A water damage inspection may be required for your insurance claim after any of the following:
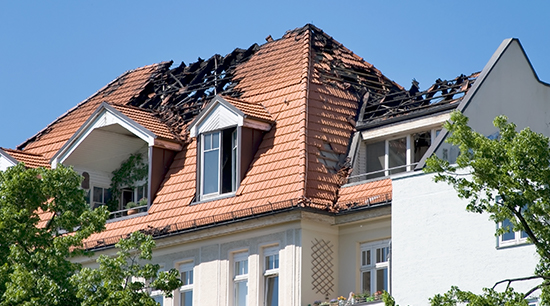
- Roof leak
- Pipe burst
- Appliance malfunction
- Water overflow
- Sewage backup
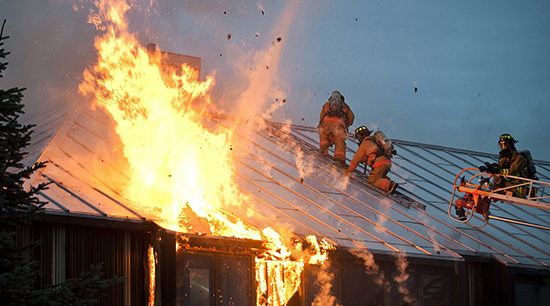
- Fire
- Flood
Tip: Private insurance companies will not cover flood damage. Floods are defined as an overflow of water onto normally dry land. The inundation of a normally dry area caused by rising water in an existing waterway. Flood insurance can be obtained through the National Flood Insurance Program (NFIP). For help finding a local insurance agent or carrier, call (877) 336-2627 or visit floodsmart.gov
Excess Water is Removed – A detailed inspection considering the extent of water migration, the types, and quantities of affected materials, and the severity of apparent damage must be conducted before restoration efforts may begin.
Getting Estimates for Restoration Services – Water damage restoration companies can only provide estimates when a detailed inspection reveals the water damage’s type, extensiveness, and severity.
Buying a Home or Business – Before purchasing any residential or commercial property, you should have a water damage inspection conducted. You need an expert inspector who knows what to look for, identify issues, and document the extent and danger of any detected damages.
Tip: Subtract any potential water damage repair expenses from the property’s market value to give you the amount you should bid or counteroffer on the property.
Water Damage Inspection
In this article, you discovered what a water damage inspection is, what one can detect, and when one should be conducted by a trained professional.
Knowing when to get a water damage inspection done will help you avoid dealing with extensive structural damage, purchasing a severely water-damaged property, and having your insurance claim denied.
Ignoring the need for a thorough water damage inspection can leave you with undetected catastrophic structural damages, paying too much for a water-damaged property, or having to pay out-of-pocket for costly water damage repairs when your insurance denies your claim.
Sources:
floodsmart.gov
ufdcimages.uflib.ufl.edu/IR/00/00/33/40/00001/FY108200.pdf
in.nau.edu/wp-content/uploads/sites/226/2020/03/Water-Damage-Guideline.pdf
(678) 505-0266
The post What is Water Damage Inspection & When One is Needed appeared first on http://www.alpharettawaterdamageremoval.com